
This week I took on the challenge of yarn balls. I know what you’re thinking, what are yarn balls? A yarn ball is exactly as it sounds, it’s a yarn in the shape of a ball. Yarn balls are usually used for decor. You can display yarn balls in a dish on your dining room table or your entry way. You can also string yarn balls along your walls at home or your desk at work. The color possibilities are endless, since yarn comes in pretty much any color. They are also a very inexpensive way to add color to a room. A yarn ball is made by taking a balloon and blowing it up, then taking yarn and gluing it to the balloon. Sounds simple, right? I thought the same thing until I tried it. Two Pinterest fails later, I finally was able to make yarn balls that didn’t fall apart.
While searching for decor items on Pinterest, I stumbled across the yarn balls. After reading the article and instructions, I thought this would be an easy and fun activity to do with my kids while they are home for summer. The first set of instructions told me to:
1. Blow up a balloon
2. Cut 21 pieces of yarn to 36 inches each
3. Dip each piece of yarn in glue
4. Attach to the balloon
5. Hang dry over night.
6. Remove yarn from the balloon with fingers.
7. Pop the balloon and you have a magically perfect yarn ball
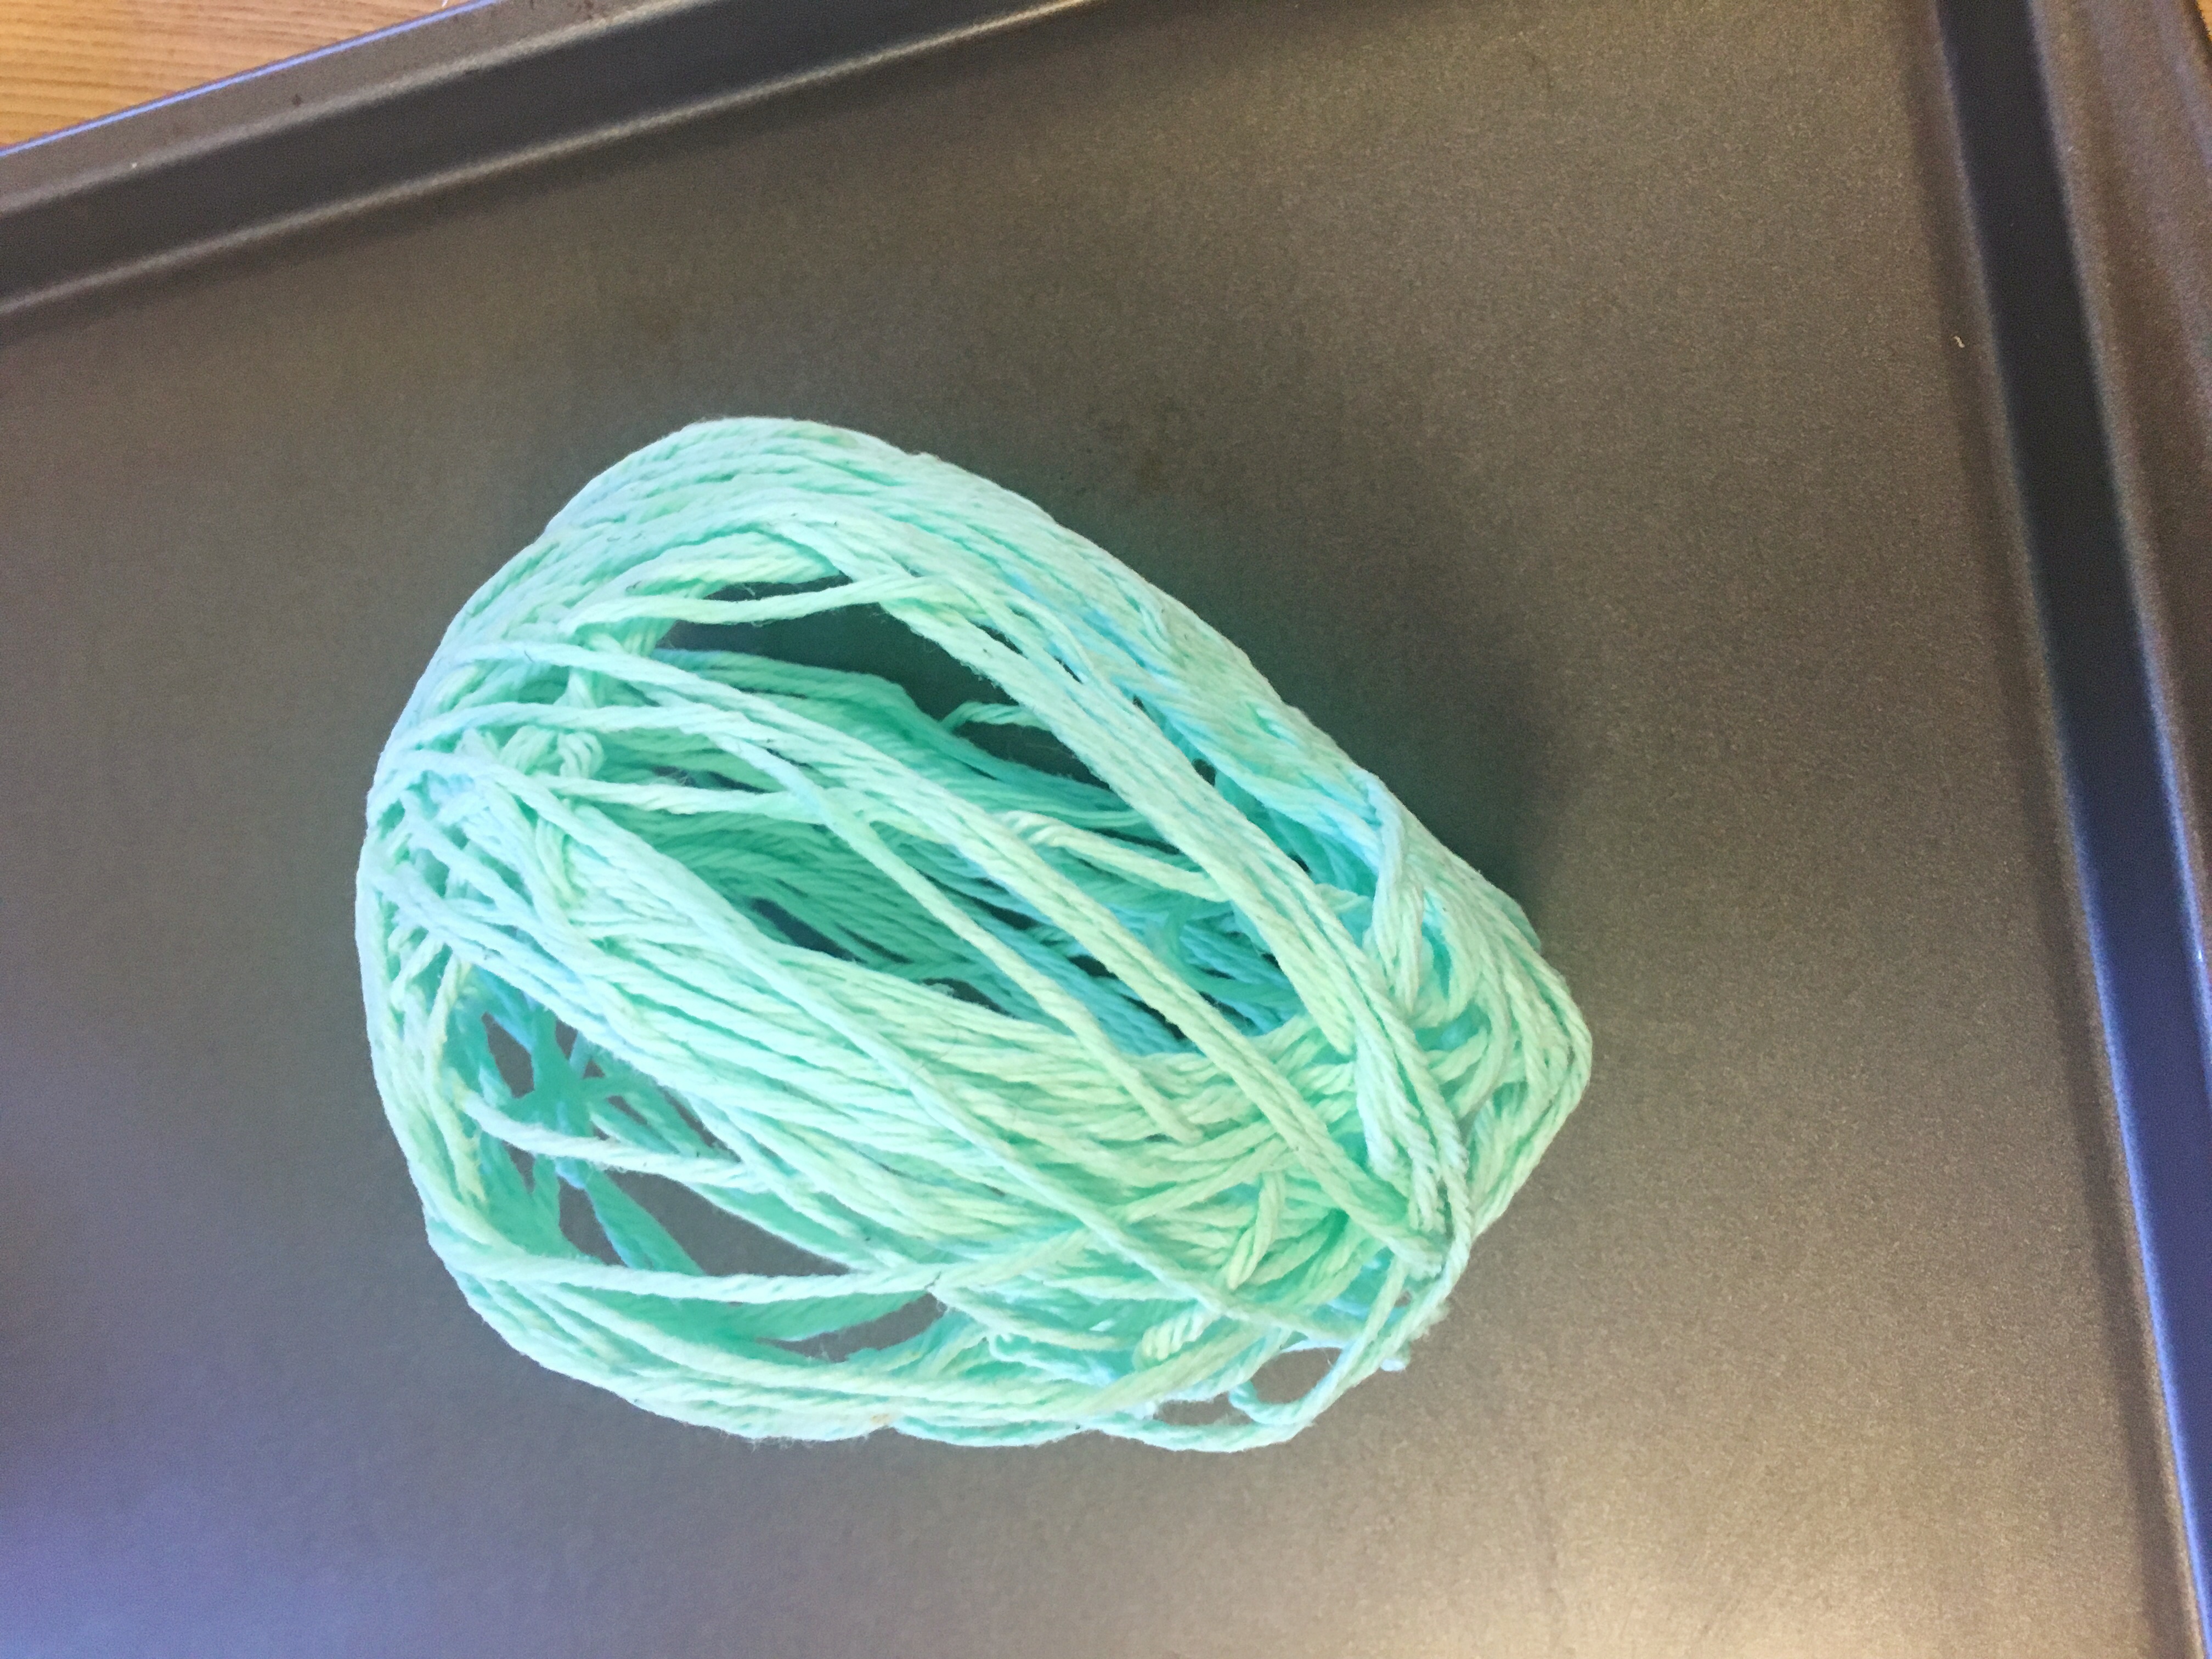
This method was a gluey mess. My kids didn’t enjoy it all. After following these steps exactly and waiting hours for it to dry, my yarn ball looked like this:
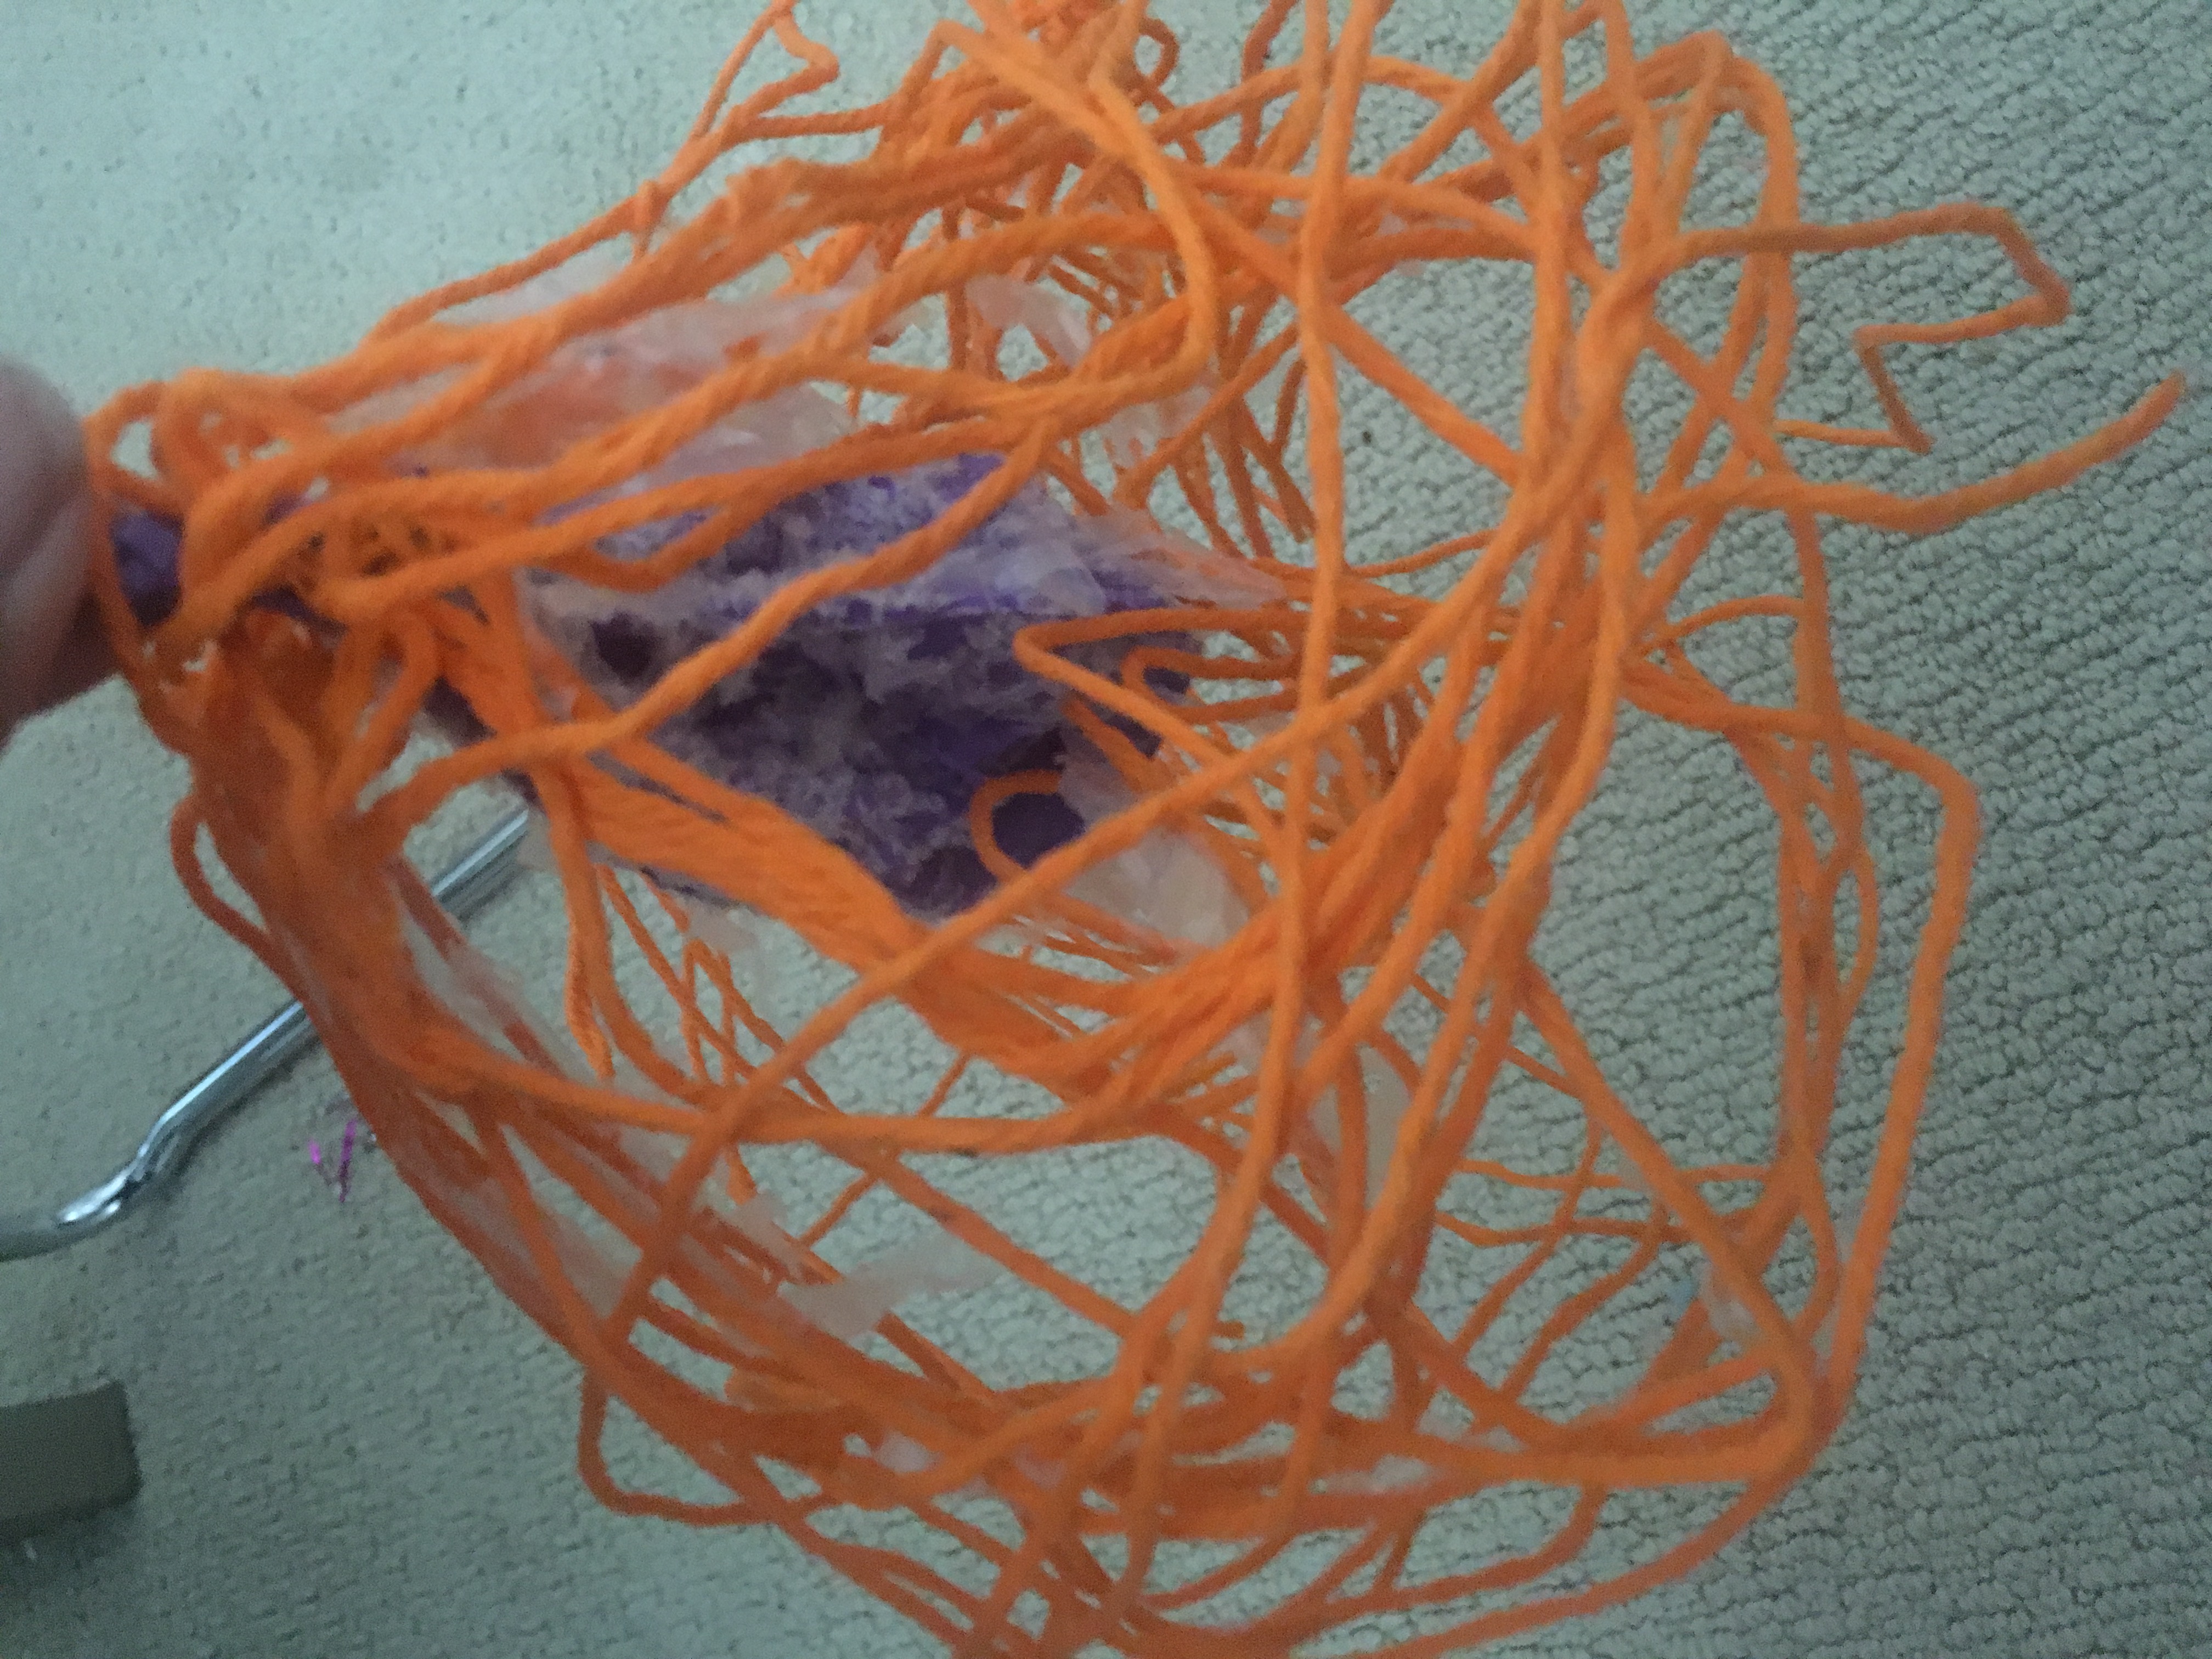
A disaster right? No ball here. Just an epic fail. So, I did some more research and tried again. Another website claimed that if I changed #2 above and left the string in one long piece instead of cutting them up, I would have a perfect yarn ball. Well, I made the change and still ended up with a pile of flat yarn.

So, I tried again, found a video on YouTube that said if I keep one continuous string of yarn, like the second website AND I didn’t dip the yarn in glue #3 above, but instead used a paint brush to rub the glue on after wrapping the balloon in yarn that I would have a perfect yarn ball. After trying a 3rd time and waiting 20 hours, it turned out they were right! I finally had a yarn ball that was a ball! I definitely don’t want anyone to experience the pain of making a yarn ball like I did. Let me walk you through the correct way to make a yarn ball the first time.
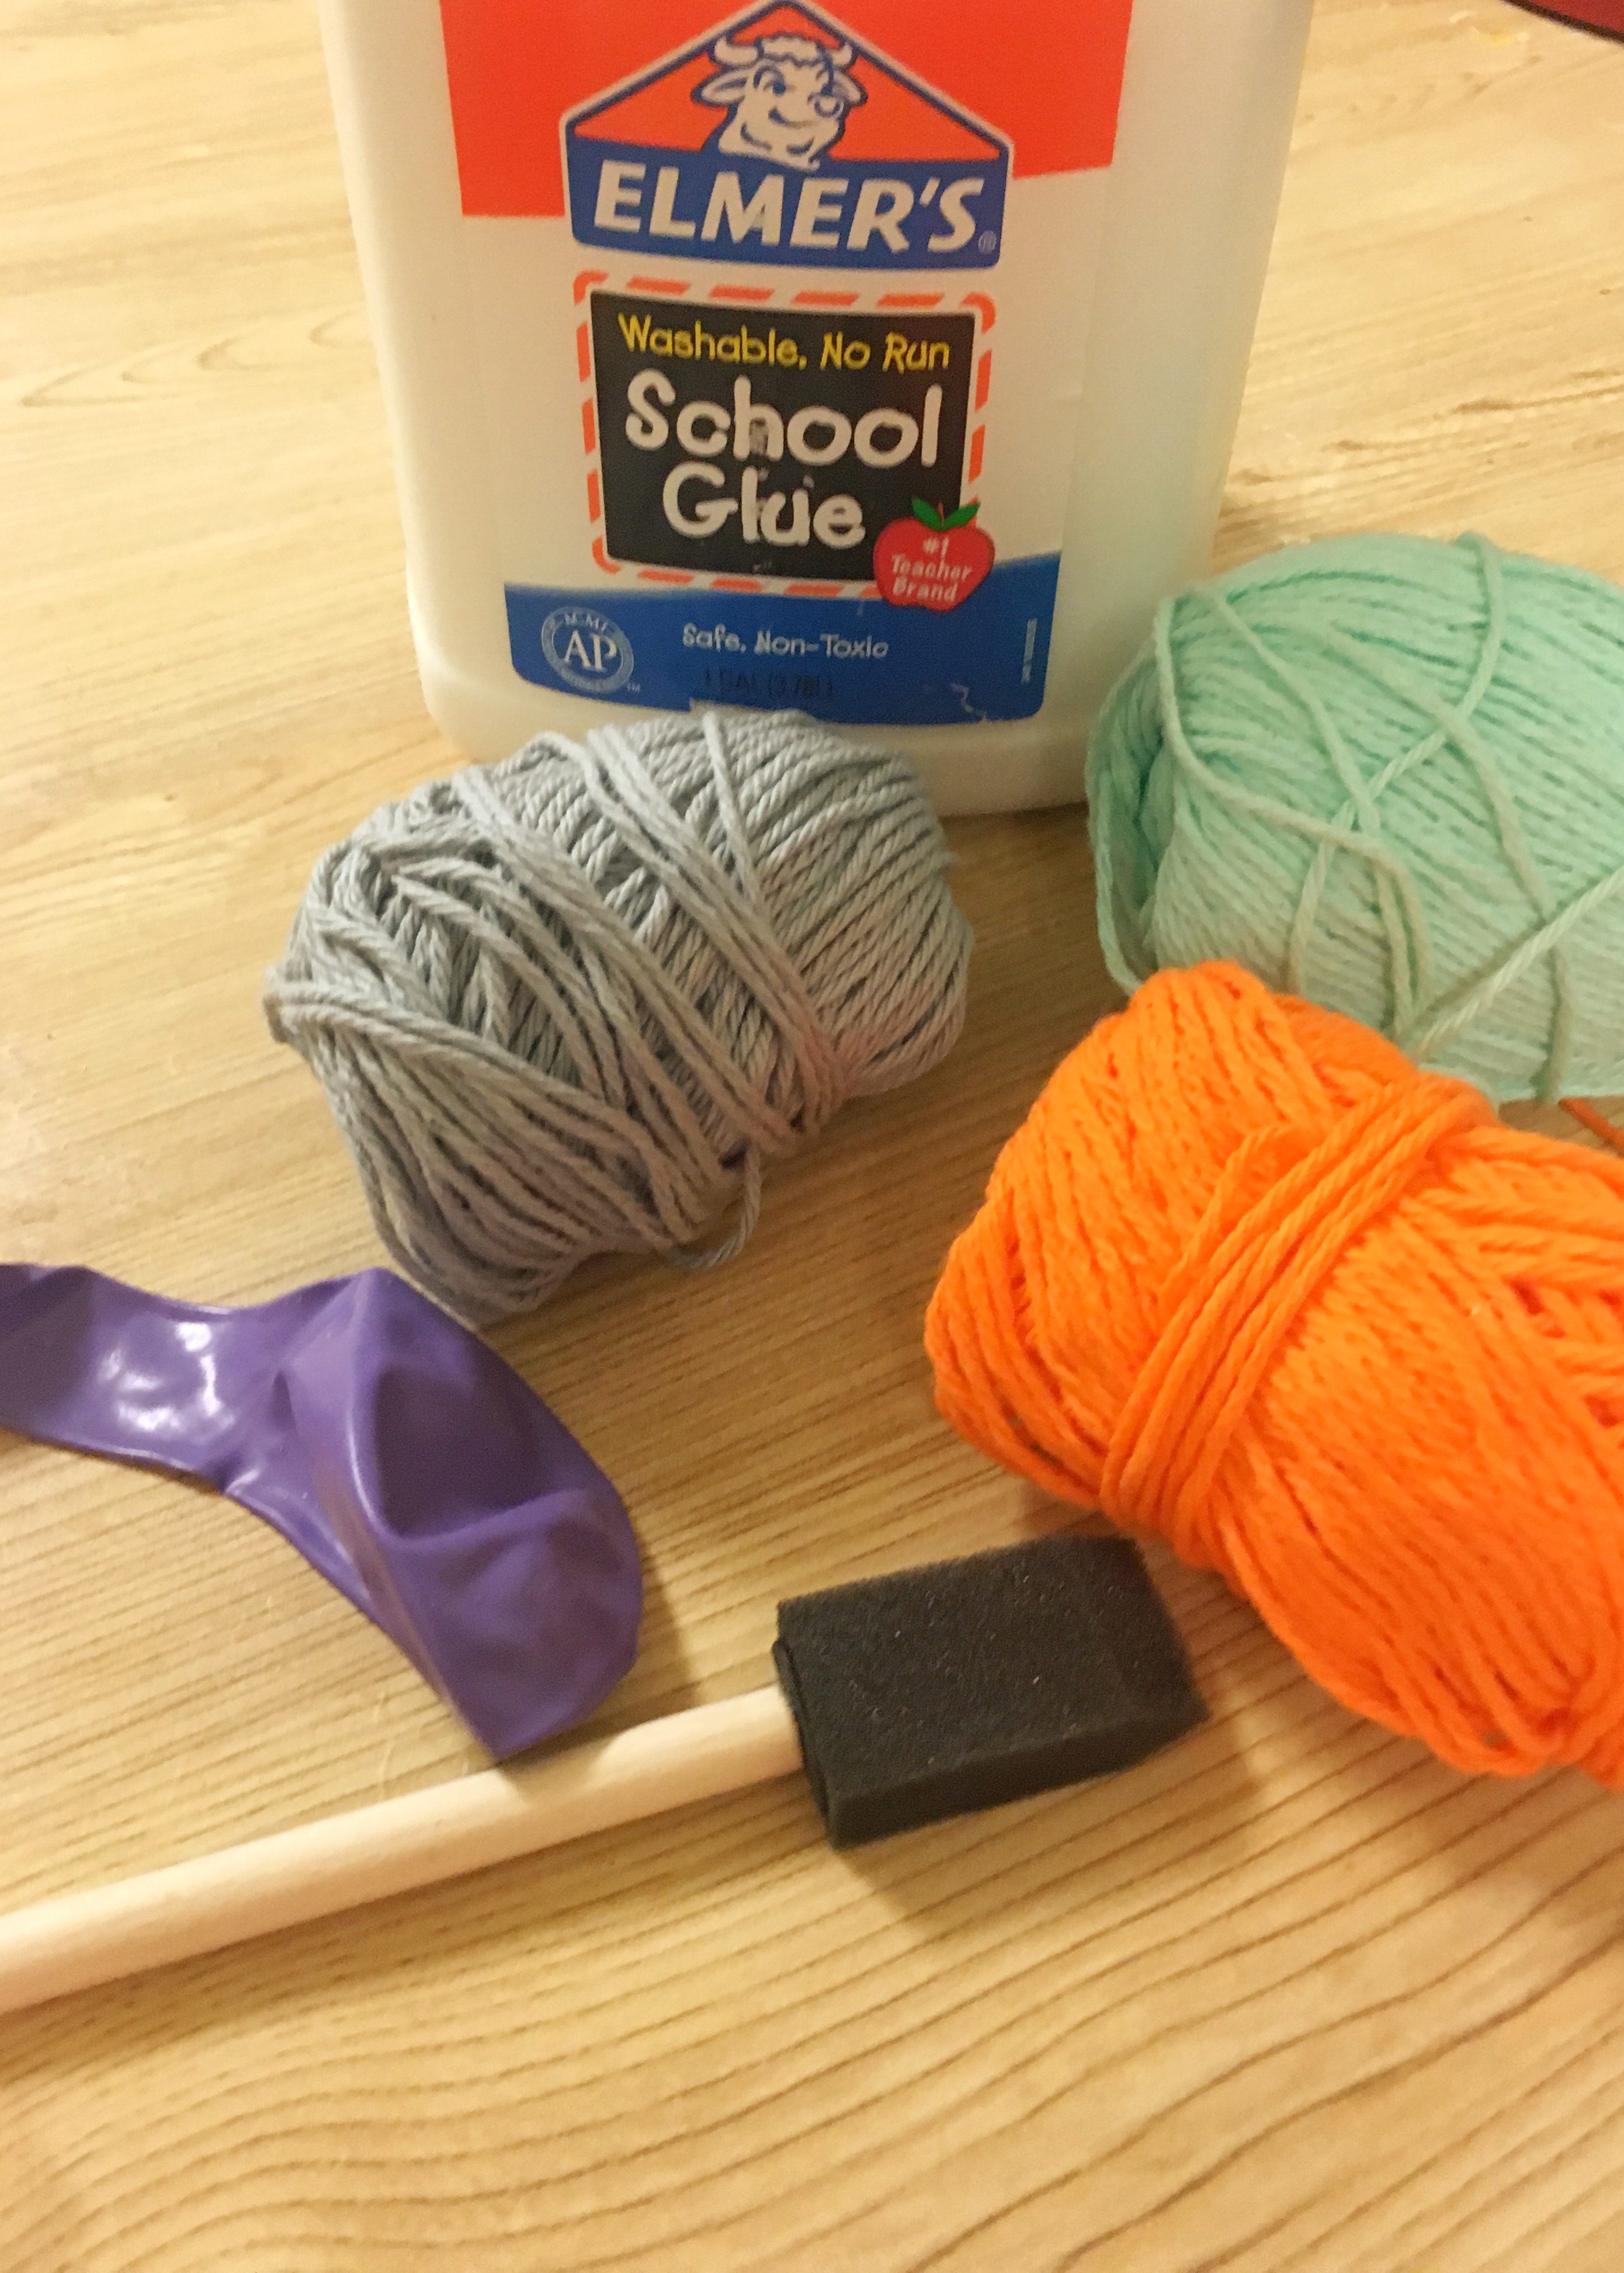
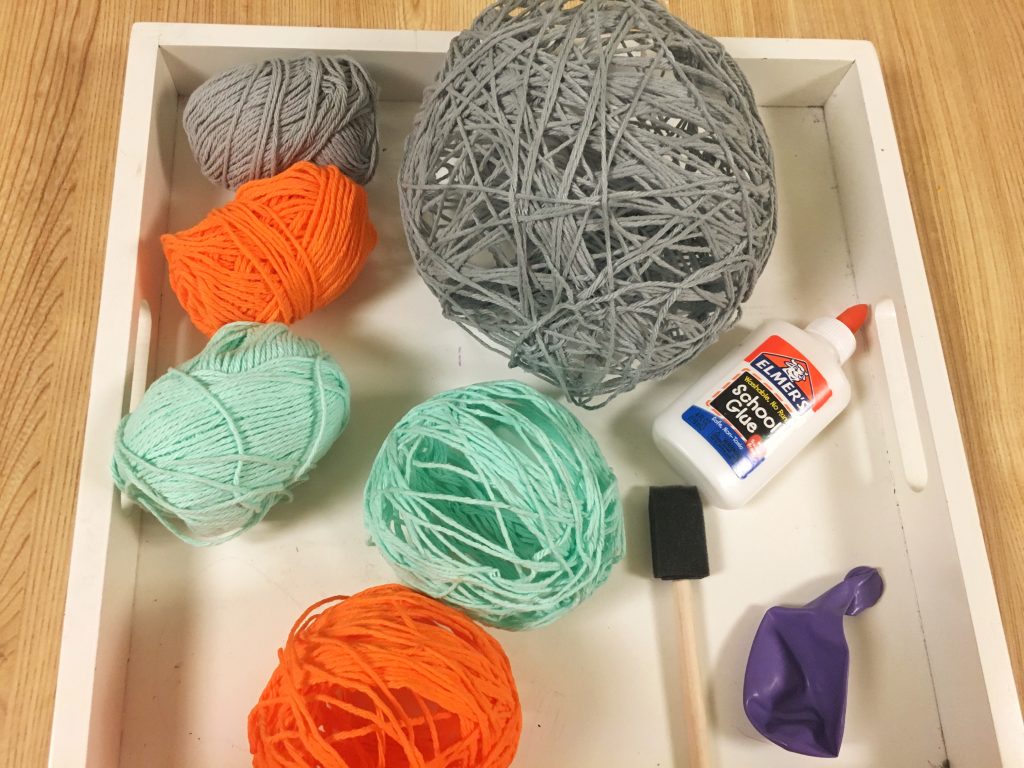
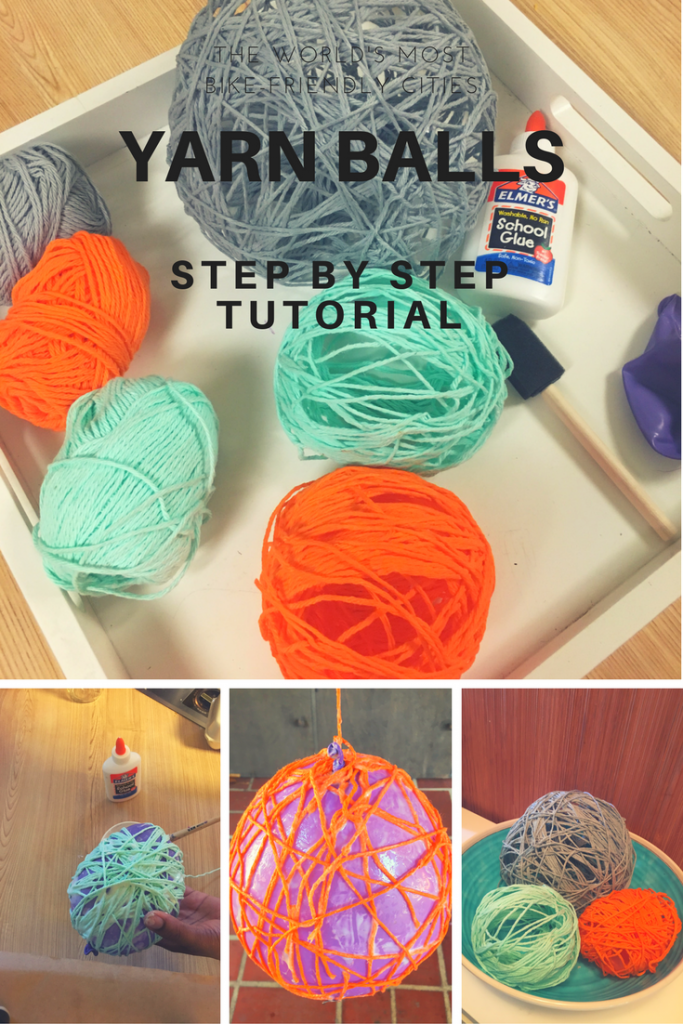
Material for Yarn Balls
- Yarn in any color of your choice (Amount varies based on the size of your ball, but about 96 inches should be fine)
- Elmer’s Liquid School Glue (Amount varies on size of ball, but expect to use at least 4 ounces)
- Paint Brush
- 2 Balloons
Yarn Ball Instructions
Step 1
Blow up a balloon to the size you want the yarn ball. The yarn ball will take on the shape of the balloon. I found that the smaller balls hold the shape better than the larger balls.
Step 2
Take the yarn and wrap it all around the balloon. Glue the start of the yarn to the balloon, this makes it easier for wrapping so that your yarn doesn’t slip off the balloon in the beginning. Wrap the yarn in various directions up and down, sideways, etc. Once the balloon is covered in yarn. Tie the yarn to the knot at the top of the balloon and leave at least a 6-inch string for hanging.
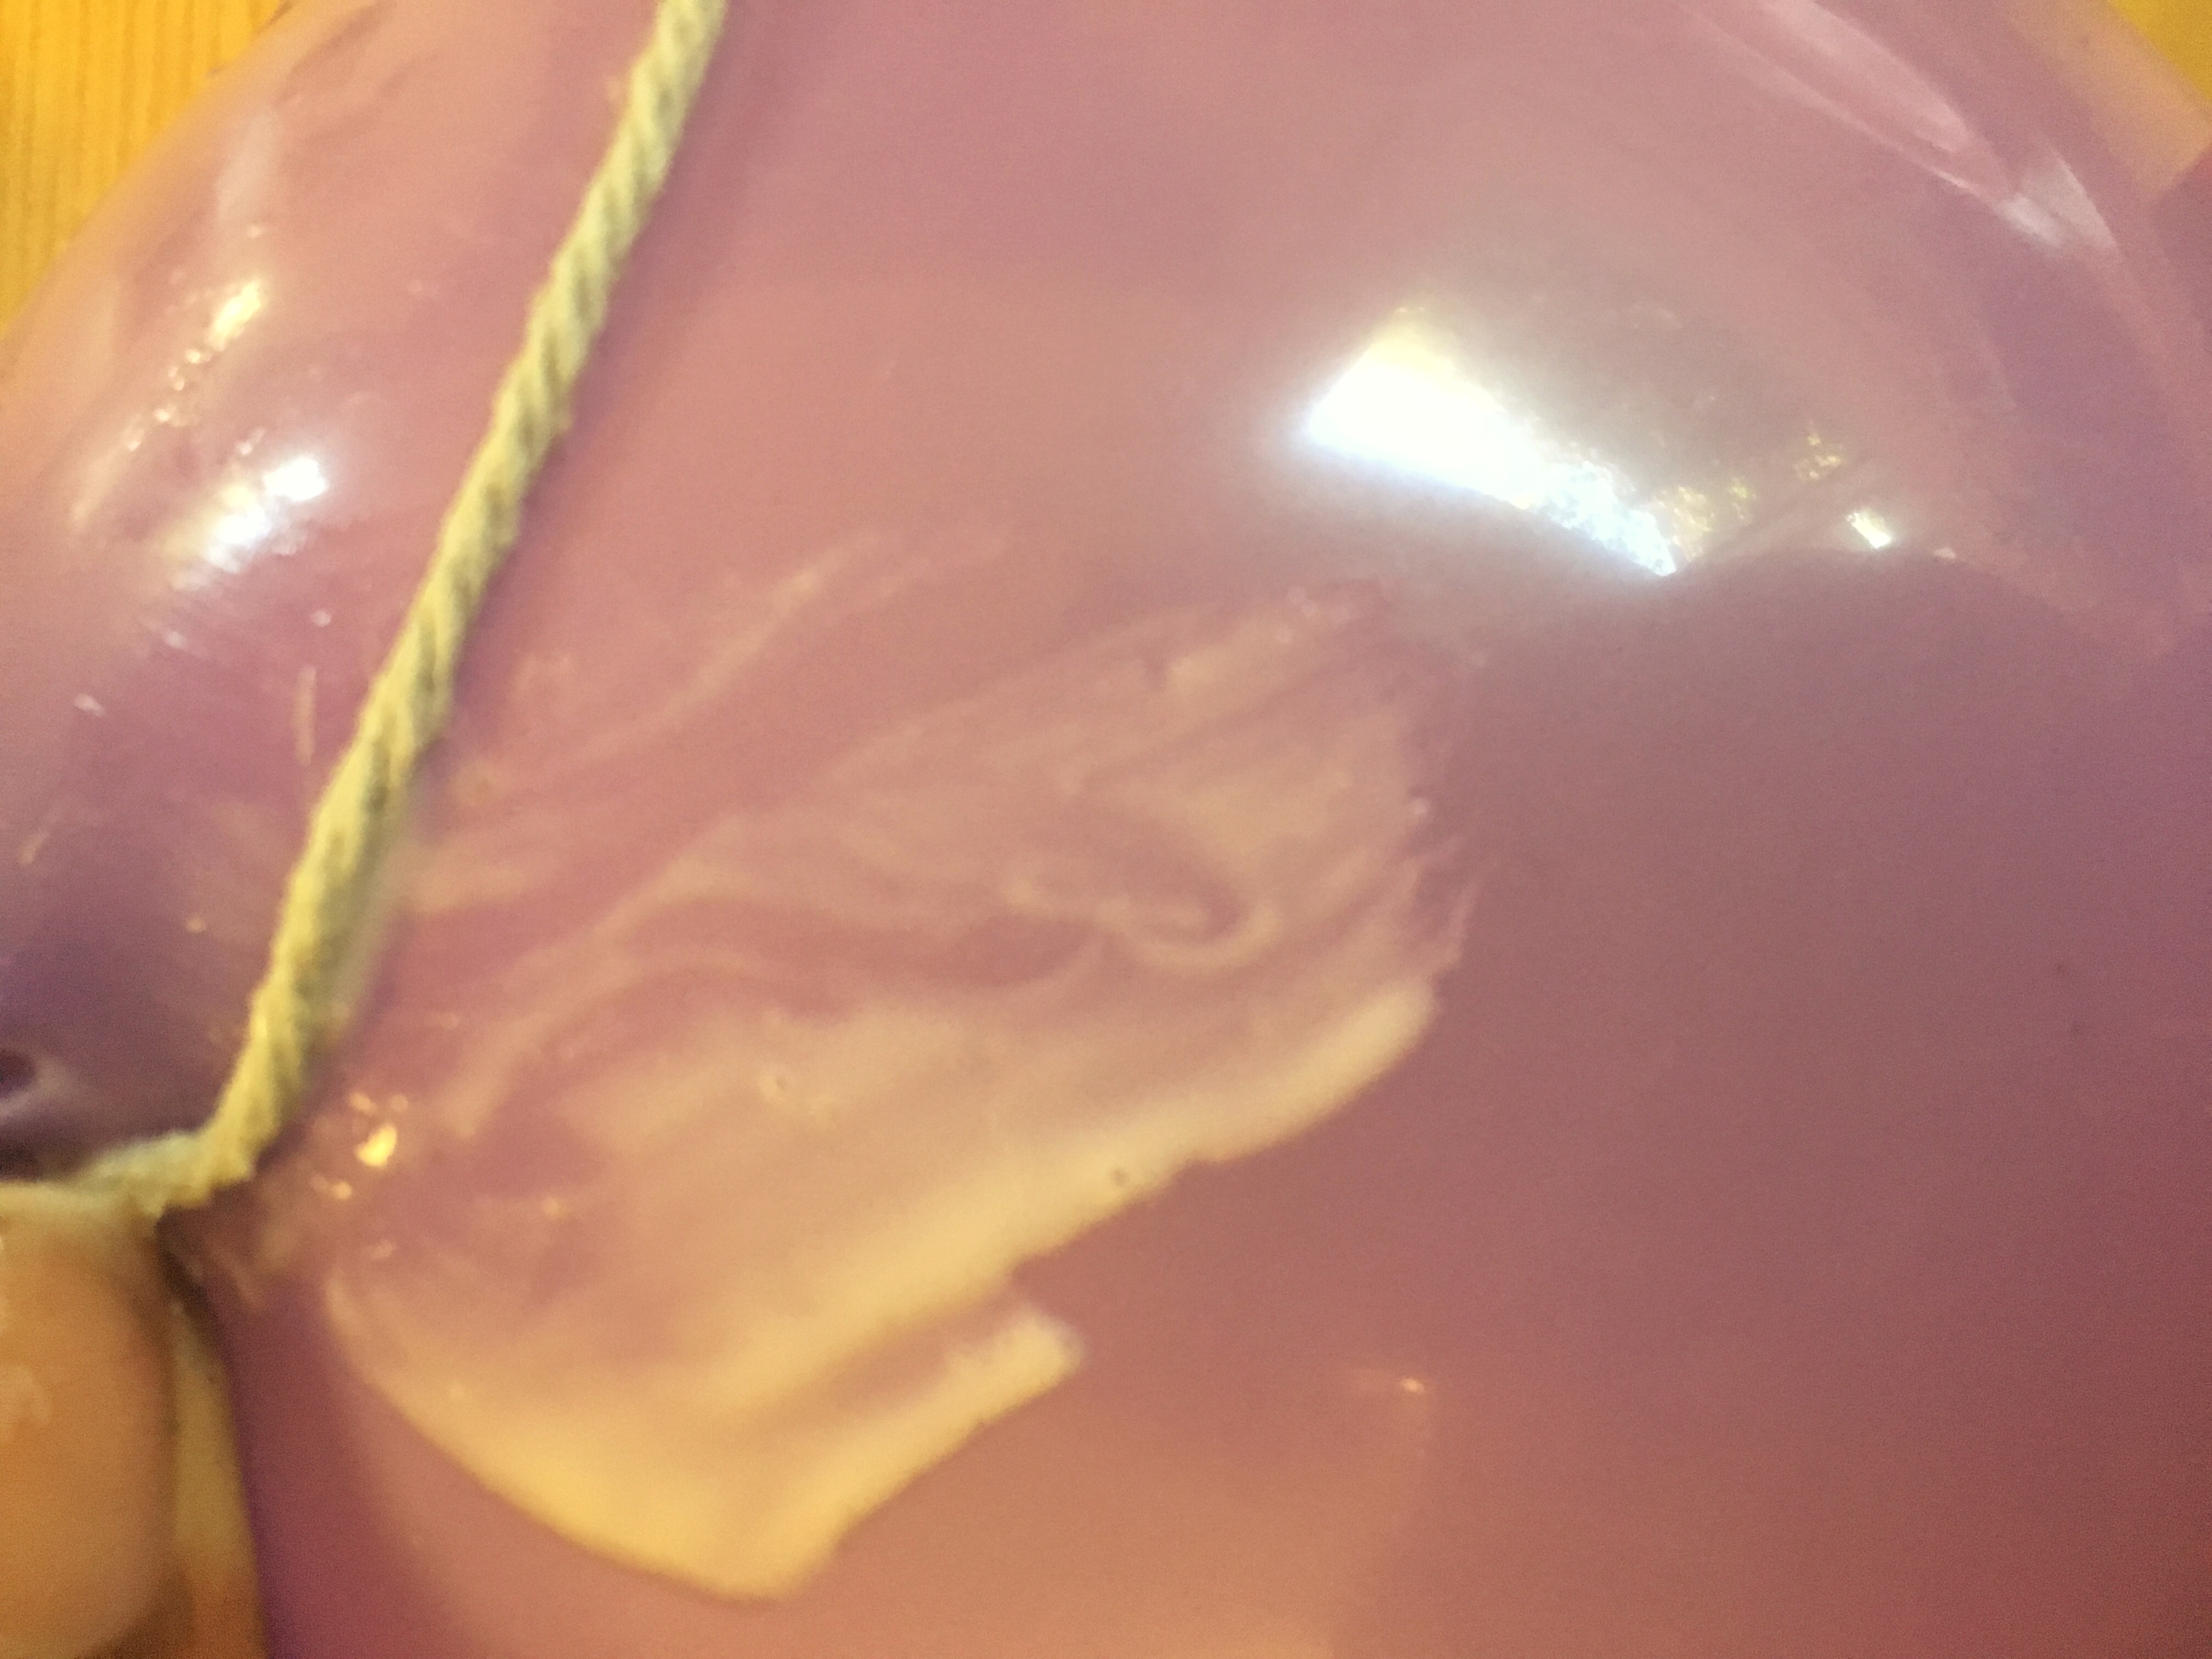
Please note: yarn should be very tight. Any loose pieces of yarn will stick out of the ball and stay that way.
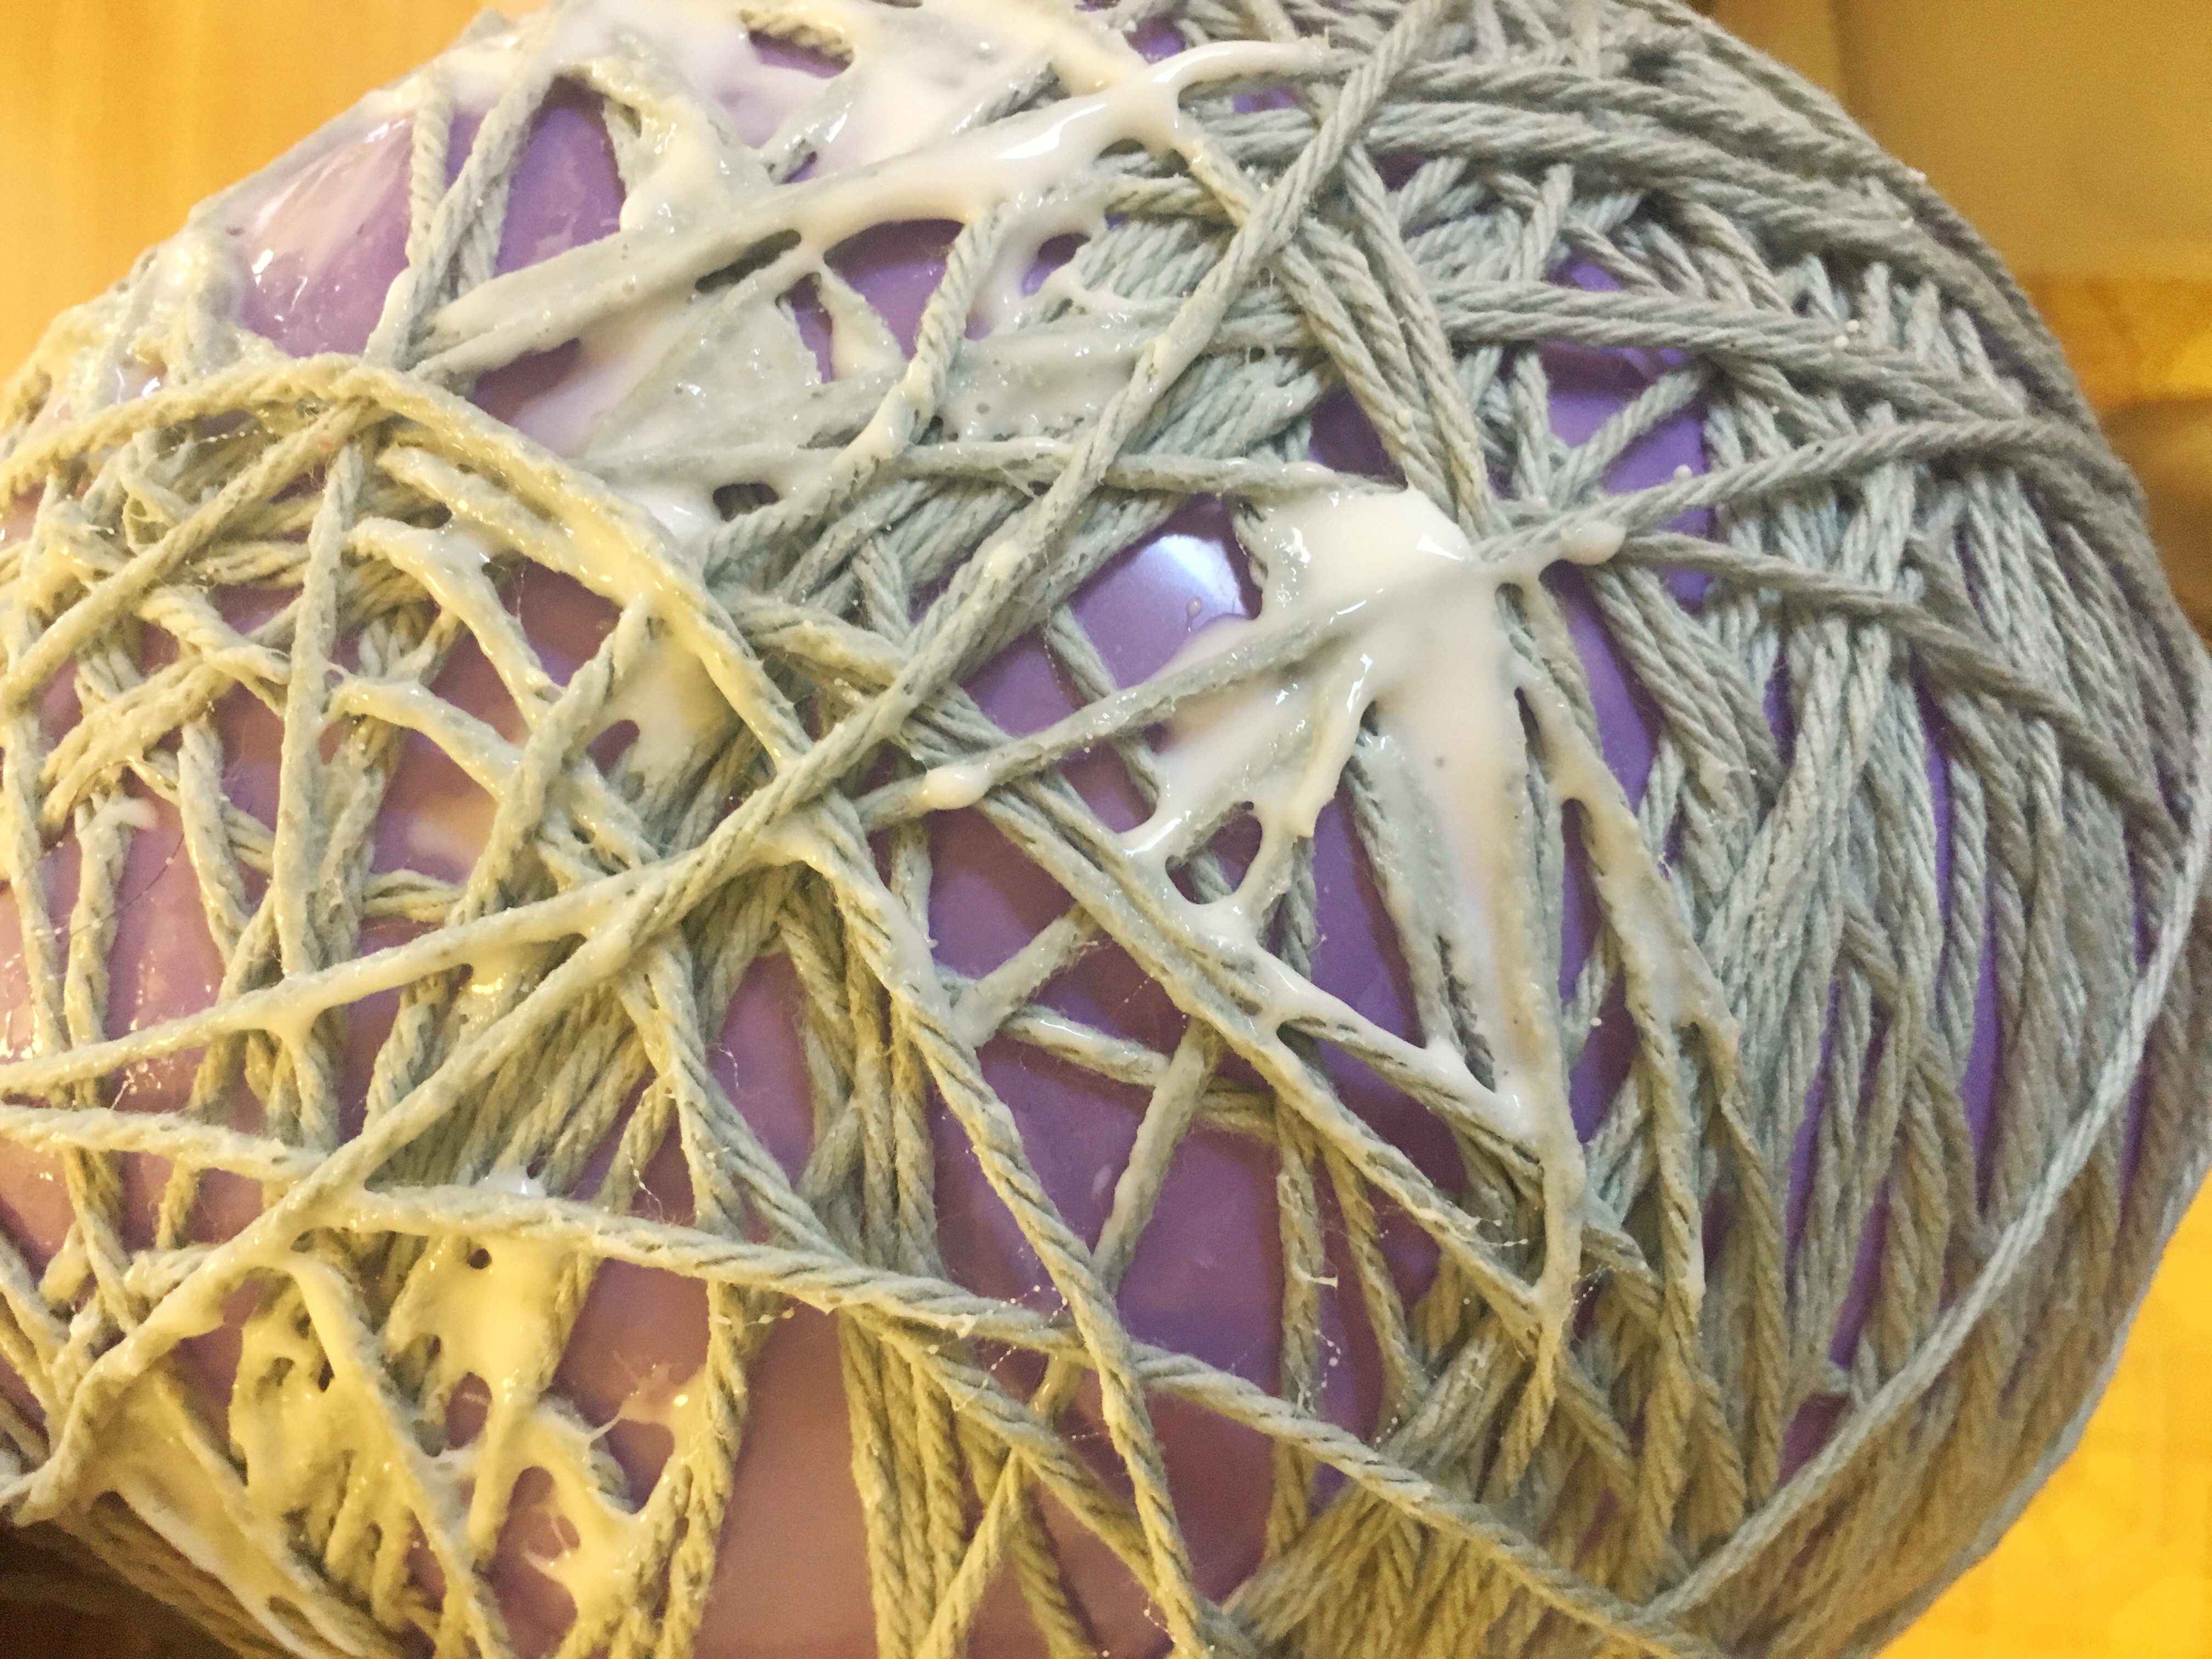
Step 3
Cover the yarn ball with glue using the paintbrush. Make sure ALL yarn is covered with glue. This holds the yarn in place when you remove the balloon.

Step 4
Hang yarn ball for 20 hours. I hung mine on the side of a drawer. Do not try and rush this step. The glue on the yarn ball needs to be completely dry.

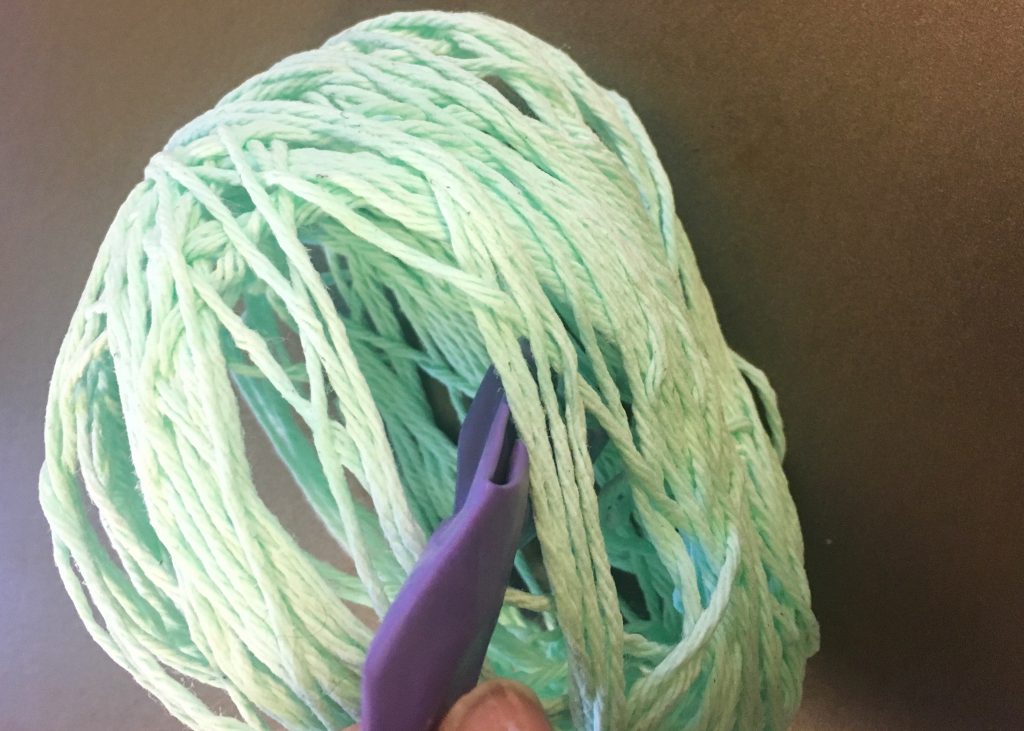
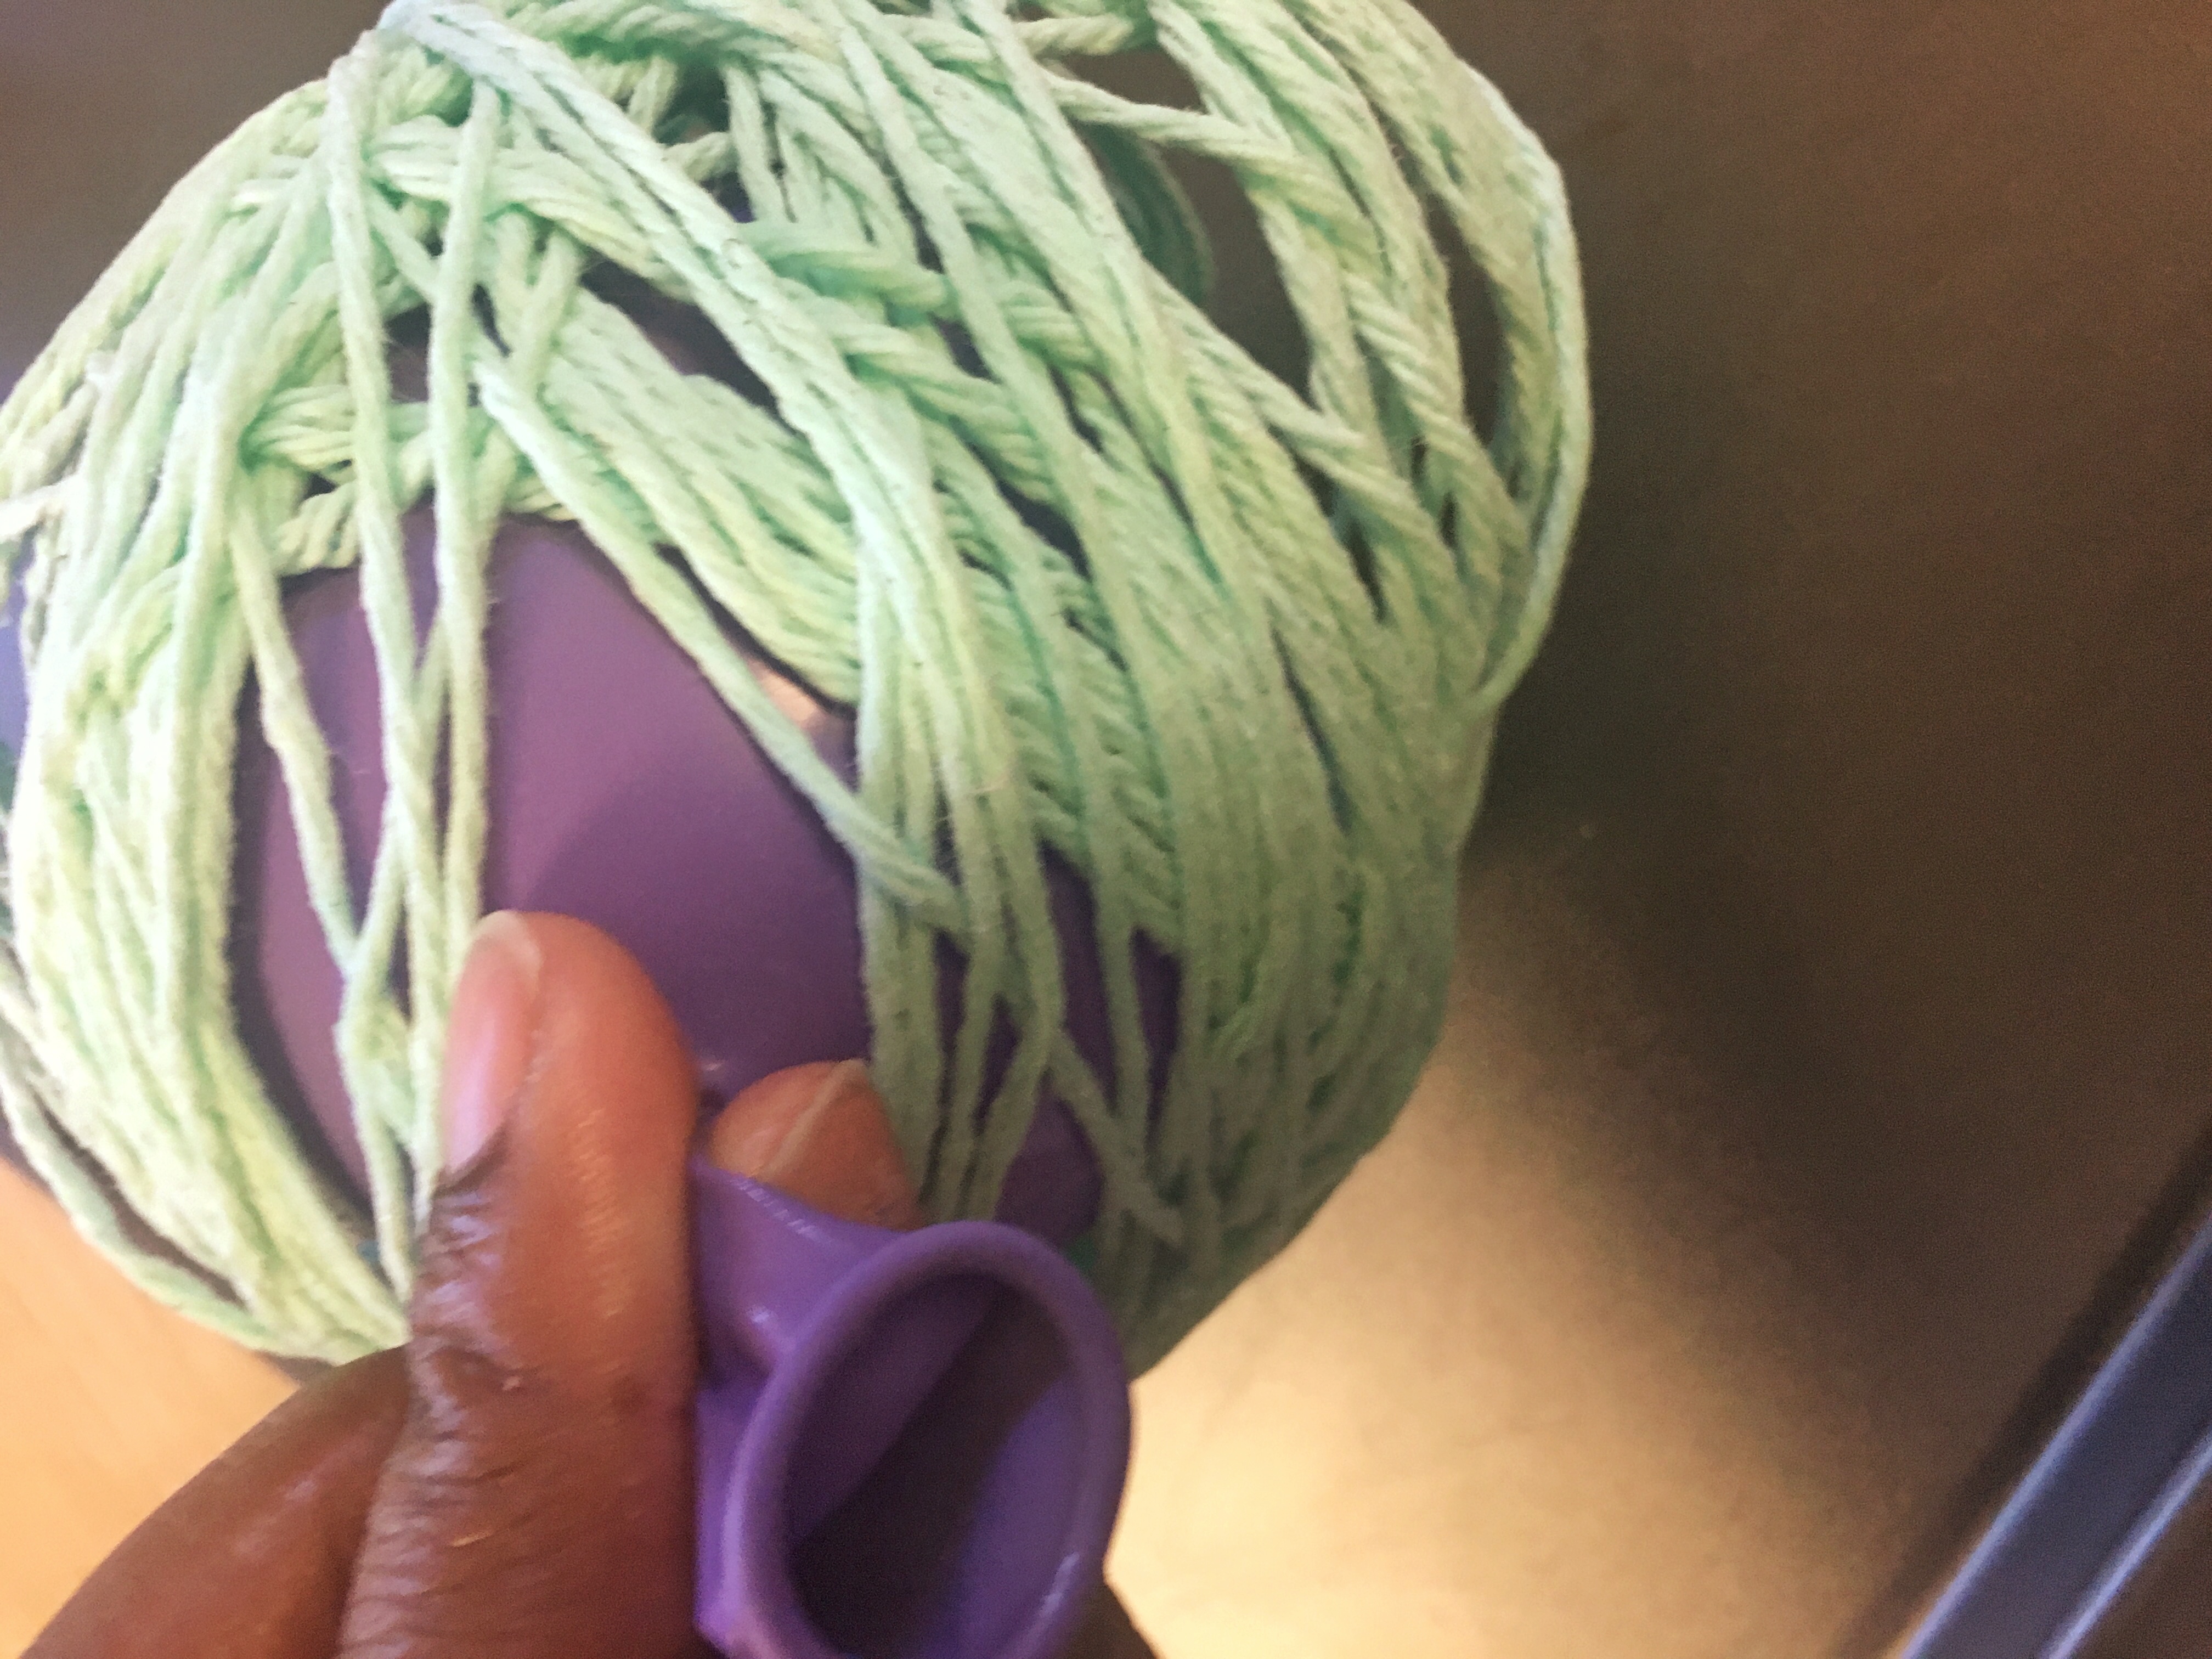
Step 5
Using your fingers, start to separate the yarn from the balloon around the sides.
Step 6
Pop the balloon. Pull the balloon out of the yarn ball and cut off the extra piece of yarn that was being used for drying.
Step 7
Insert the second balloon back into the flat yarn ball, blow up the balloon until the yarn ball has expanded. This allows it to get it back to a proper ball shape.
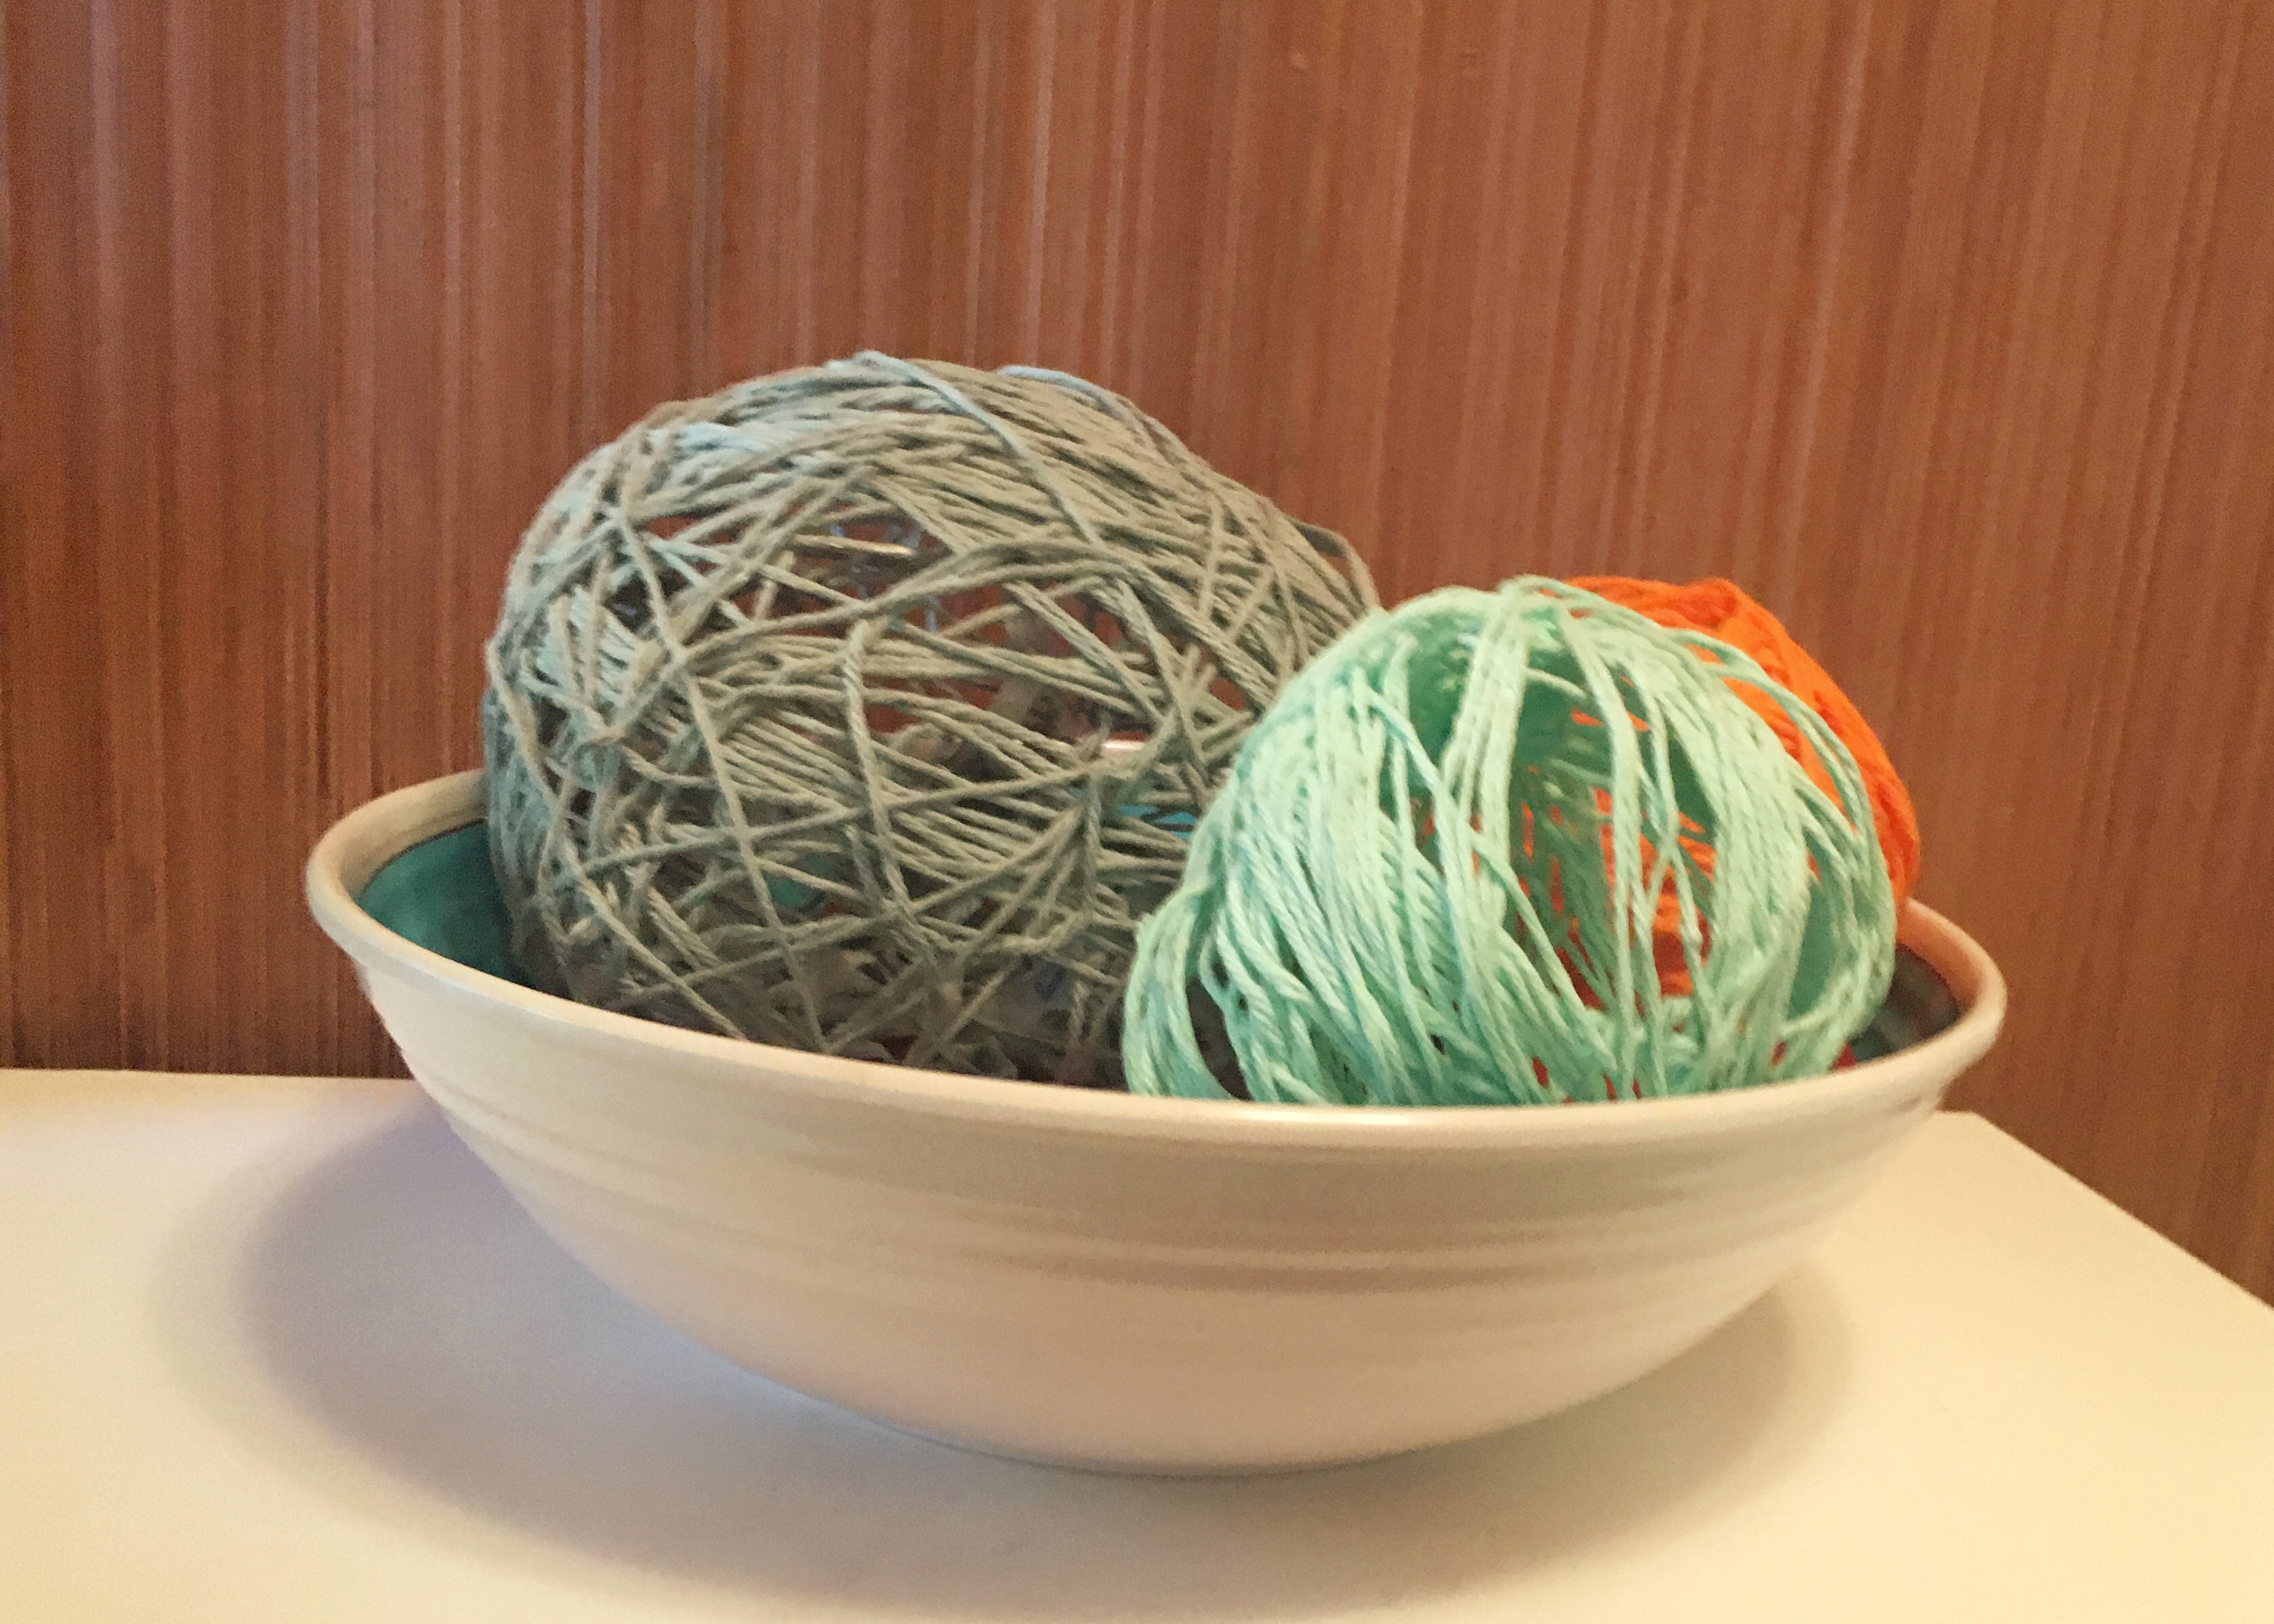
Enjoy your new decor!

I repeated this process 3 times with 3 different size balloons. I’ve now made an orange, gray, and light teal yarn ball to enjoy in my home. You can also make yarn balls for decor for the different seasons. In the Fall, you can enjoy yellow and brown and in the Winter, you can enjoy red and green.
This is an inexpensive craft that can be easy if you do it the right way the first time. What are some inexpensive ways you bring color into your home?
It took great effort to solve the yarn if get cluttered.
Thank you!
I’m so glad you included the failed one! I think that’s going to help a lot!
Thanks! I figured everyone can learn from my mistakes.
Haha this is great! I used to do this with my mom growing up. Thanks for sharing!
Thank you! How awesome!
Wow – this is so easy, but amazing!
Thank you!
Ha, here from yahoo, this is what i was looking for.